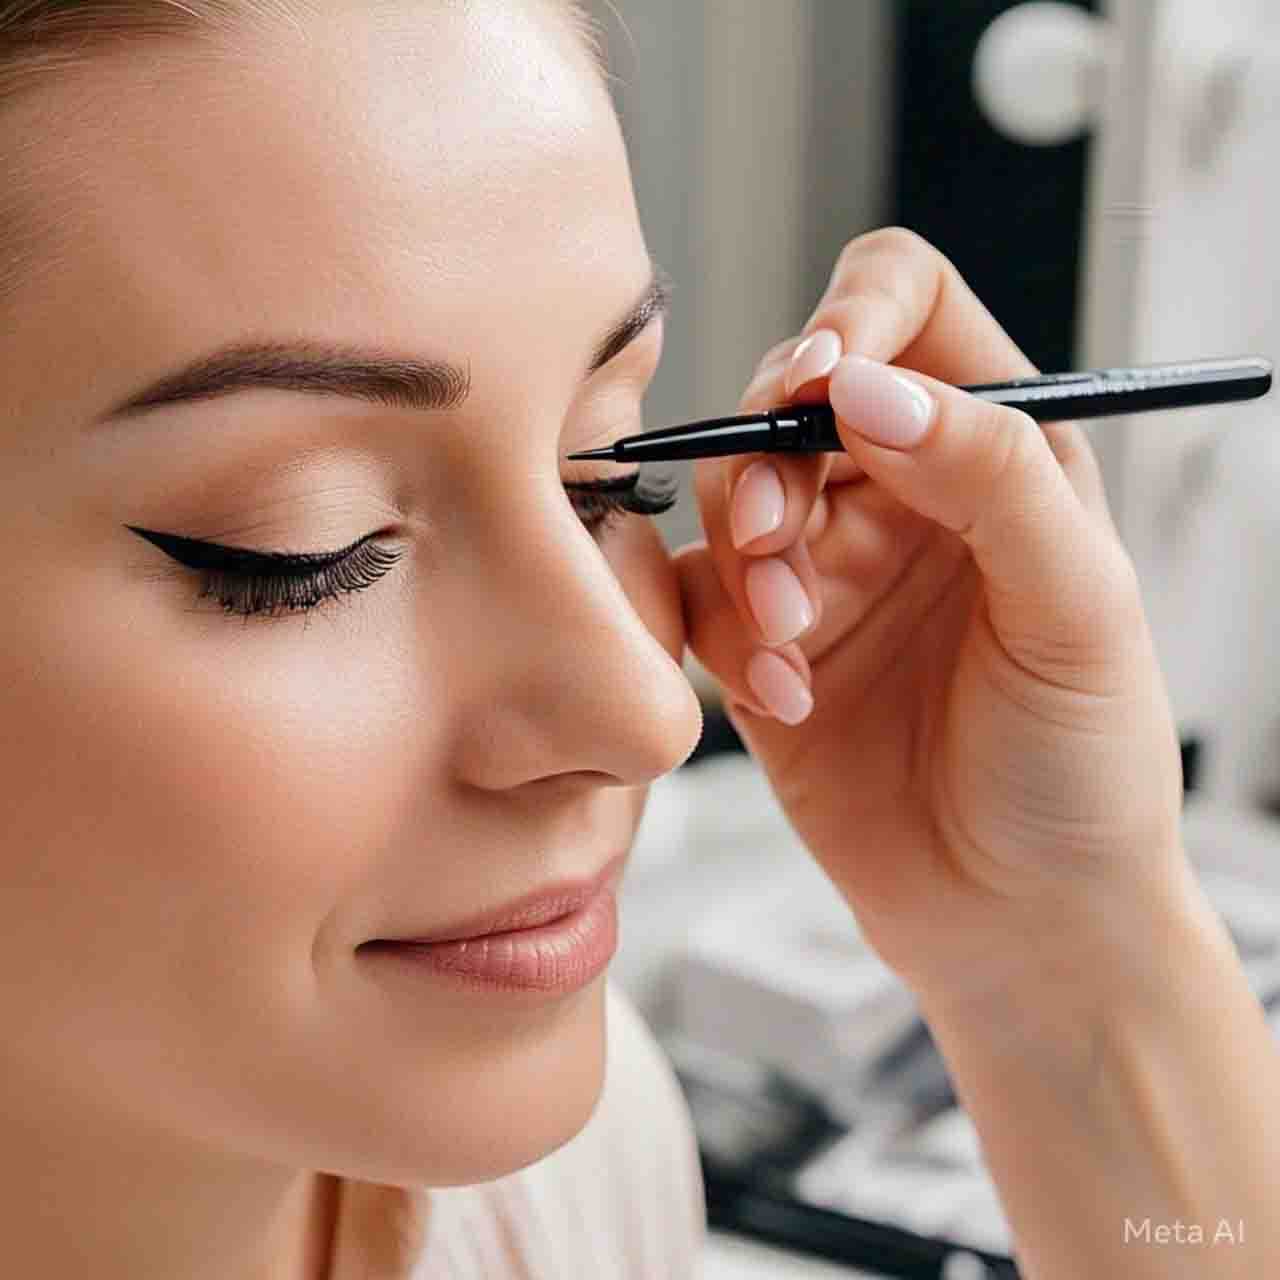
How to apply winged eyeliner perfectly: Applying winged eyeliner perfectly can be tricky, but with the right tips, anyone can master it. Winged eyeliner gives your eyes a sharp, elegant look, making them appear bigger and more defined. Whether you’re a beginner or just looking to improve, this guide will help you create flawless wings every time. Start by choosing the right eyeliner—liquid, gel, or pen—based on your comfort level.
Always prep your eyelids with primer or concealer to prevent smudging. Use small, light strokes instead of one big line for better control. If you make a mistake, don’t worry! A cotton swab dipped in makeup remover can fix any errors. Practice makes perfect, so keep trying until you get the shape you love. Follow these easy steps and tips to achieve the perfect winged eyeliner look effortlessly.
10 Quick Tips for Perfect Winged Eyeliner
- Start with a clean eyelid
- Use tape for sharp edges
- Draw small dashes first
- Extend the wing slightly upward
- Keep your hand steady
- Use gel liner for beginners
- Connect the wing slowly
- Fix mistakes with a Q-tip
- Set with black eyeshadow
- Practice daily for improvement
1. Choosing the Right Eyeliner
Picking the best eyeliner is the first step to a perfect wing. Liquid liners give a sharp finish but can be tricky for beginners. Gel liners come with a brush and offer more control. Pencil liners are easy to use but may not give a bold wing. If you’re new, start with a felt-tip pen liner—it’s like drawing with a marker! Always check if the liner is smudge-proof and waterproof for long-lasting wear.
2. Prepping Your Eyelids
Clean and dry eyelids help eyeliner stay in place. Use a makeup primer or a dab of concealer to create a smooth base. This prevents oily lids from ruining your wing. If you have shaky hands, rest your elbow on a table for steadiness. Lightly powder your lids to reduce smudging.
3. Mapping the Wing with Dots
Instead of drawing a line in one go, use dots as a guide. Place a dot where you want the wing to end. Then, make tiny dots along your lash line. Connect them slowly for a smooth line. This method gives you more control over the shape.
4. Using Tape as a Stencil
Stick a small piece of tape from the outer eye toward your eyebrow. Draw your wing along the edge of the tape for a sharp, straight line. Remove the tape carefully to reveal a clean wing. This trick works great for even, symmetrical wings.
5. Drawing the Wing First
Many makeup artists draw the wing before the main line. Angle it slightly upwards towards the end of your eyebrow. Then, connect it to your lash line. This ensures both eyes match perfectly.
6. Fixing Mistakes Easily
Don’t panic if your wing isn’t perfect. Dip a Q-tip in makeup remover and clean uneven edges. You can also use concealer to sharpen the wing. Mistakes are normal—just correct and continue!
7. Setting the Eyeliner
To make your wing last longer, set it with black eyeshadow. Use a thin brush to pat shadow over the liner. This prevents smudging and keeps it fresh all day.
8. Practicing Different Styles
Try thin wings for a natural look or thick wings for drama. Experiment with curved or straight wings to see what suits your eye shape. The more you practice, the better you’ll get!
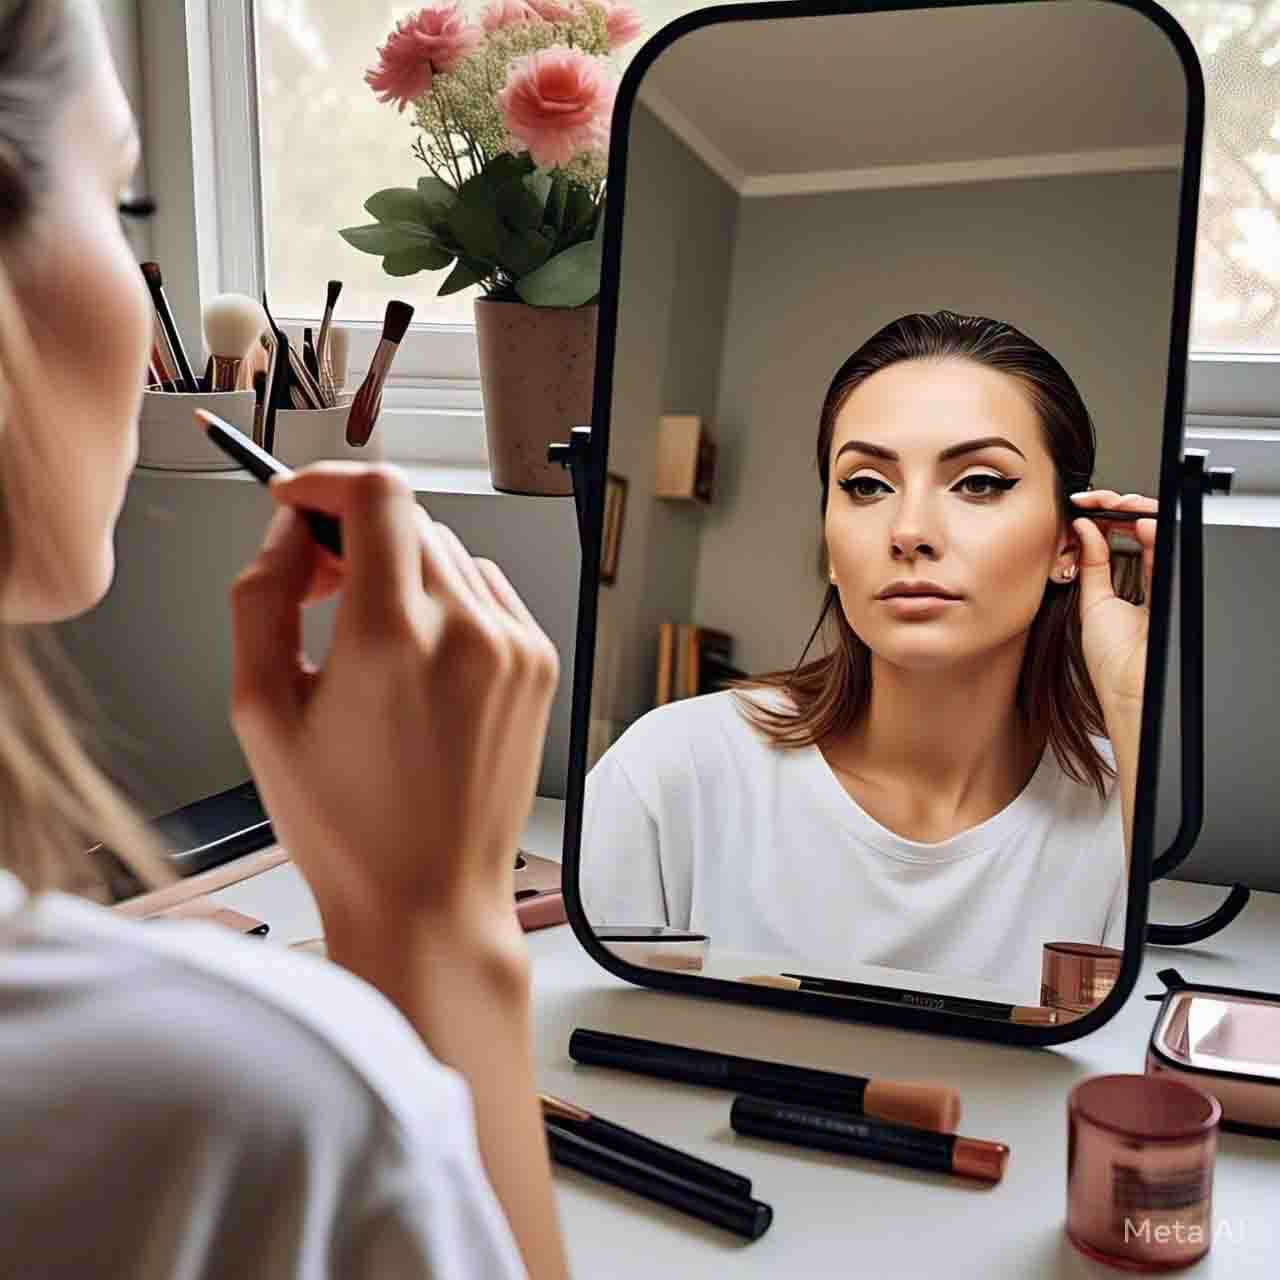
9. Making Both Eyes Even
If one wing is higher, adjust the other to match. Use your lower lash line as a guide for symmetry. Step back and check in a mirror to ensure balance.
10. Removing Winged Eyeliner Properly
Use an oil-based makeup remover to clean wings gently. Rubbing too hard can irritate the eyes. Soak a cotton pad and press it on your lids for a few seconds before wiping.
FAQs About Winged Eyeliner
| Question | Answer |
|---|---|
| What’s the easiest eyeliner for wings? | Felt-tip or gel liners are best for beginners. |
| How do I prevent smudging? | Use primer and set with black eyeshadow. |
| Why does my wing look uneven? | Practice mapping with dots and check symmetry. |
| Can I do winged eyeliner on hooded eyes? | Yes, draw the wing with eyes open for best results. |
| How do I make my wings sharper? | Use tape or a thin brush for precision. |
With these tips, you’ll master winged eyeliner in no time. Keep practicing, and soon you’ll create perfect wings effortlessly.


